As a master carpenter in Bristol, I’ve poured countless resin table tops over live edge oak slabs for homes across Somerset and Gloucestershire. Nothing frustrates more than spotting bubbles, delamination, or yellowing after the cure. Fixing Common Problems in resin table tops: bubbles, delamination, and yellowing is essential for that glass-like finish clients love in their kitchens or dining rooms.
These issues often stem from preparation oversights or environmental factors common in our damp South West climate. Whether you’re crafting a river table or kitchen worktop, understanding causes and fixes ensures durable, stunning results. Let’s dive into practical solutions drawn from years of hands-on resin and timber work.[1][2]
Understanding Fixing Common Problems in Resin Table Tops: Bubbles, Delamination, and Yellowing
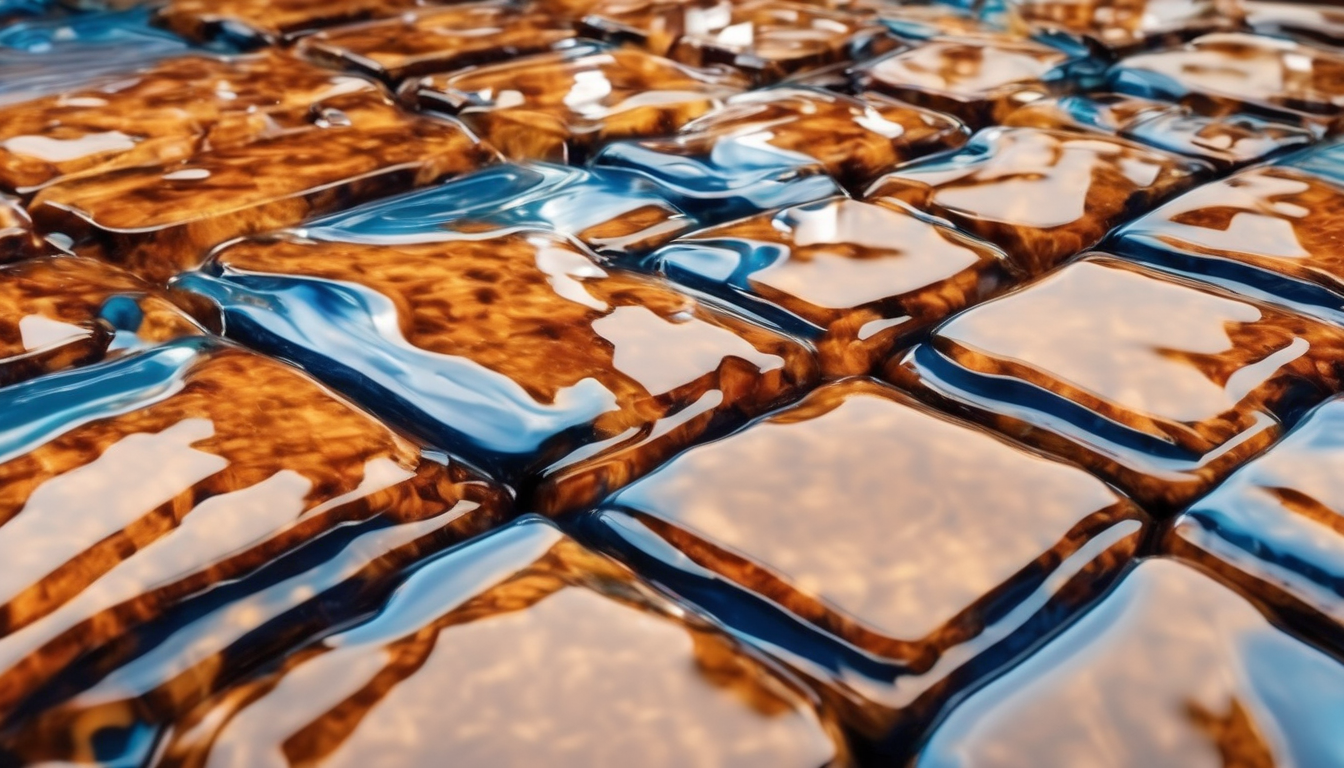
Fixing common problems in resin table tops: bubbles, delamination, and yellowing starts with knowing why they happen. Bubbles form from aggressive mixing or trapped air in porous wood like the oak we source locally in Wiltshire. Delamination occurs when epoxy fails to bond, often due to moisture or contaminants on timber surfaces prevalent in Bristol’s humid conditions.[2][3]
Yellowing typically results from UV exposure or low-quality resin overheating during cure. These flaws mar the natural grain-resin contrast I aim for in every piece. Addressing them promptly saves time and materials, keeping projects under budget—vital for homeowners in Exeter or Plymouth commissioning custom tables.[1][4]
Fixing Common Problems In Resin Table Tops: Bubbles, Delamination, And Yellowing – Fixing Bubbles in Resin Table Tops: Causes and Solutions
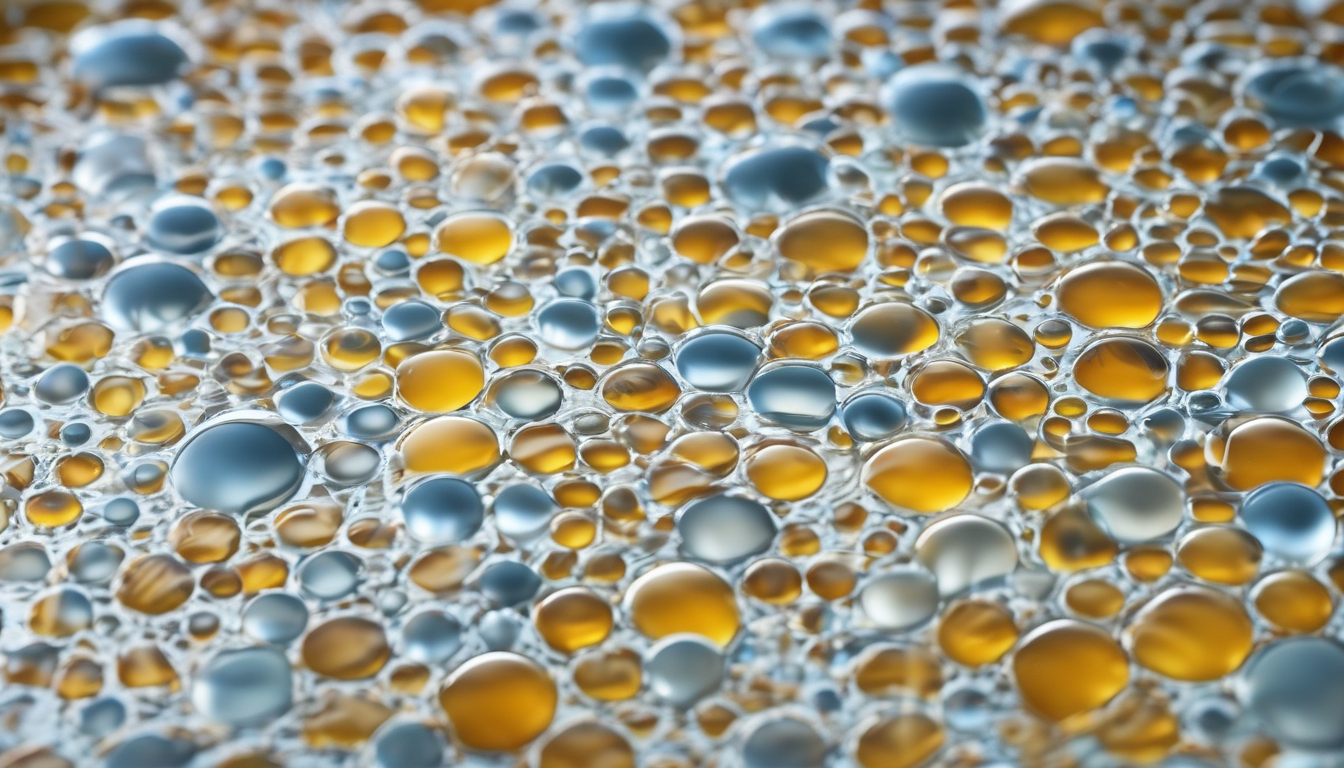
Bubbles are the most frequent issue when fixing common problems in resin table tops: bubbles, delamination, and yellowing. They arise from rapid pouring, vigorous stirring, or cold temperatures below 20°C, common in Cornish winters. Porous timber absorbs resin unevenly, trapping air.[2][3]
Immediate Fixes for Bubbles
Pass a propane torch or heat gun lightly over the surface right after pouring to pop bubbles. Keep it moving to avoid scorching—I’ve scorched slabs before learning this. Let the pour sit 5-10 minutes post-mixing to release initial air.[3][4]
For deep bubbles, apply a thin seal coat first on bare wood. This seals grain before the main flood pour, preventing air escape during cure.[2]
Post-Cure Bubble Removal
If bubbles persist after curing, sand with 220-grit paper to expose them. Fill with fresh epoxy, torch again, and polish. This method revived a client’s river table in Dorset, restoring clarity.[1]
Fixing Common Problems In Resin Table Tops: Bubbles, Delamination, And Yellowing – Tackling Delamination When Fixing Common Problems in Resin T
Delamination peels resin from the timber base, a nightmare in fixing common problems in resin table tops: bubbles, delamination, and yellowing. Causes include surface contamination like dust, oils from handling, or moisture in wood over 12%—rampant after Gloucestershire rains.[2][5]
Diagnosing Delamination
Check for lifting edges or dull adhesion spots. Test by pressing; soft areas indicate failure. In my workshop, I always vacuum and wipe with isopropyl alcohol before pouring.[2]
Repairing Delaminated Areas
Sand back to bare wood using 120-grit, clean thoroughly, and apply a new seal coat. For large areas, remove failed epoxy entirely and rebuild in thin layers. Clamping prevents belly bubbles underneath, as one YouTube expert demonstrates.[6][1]
Secure inlays or edges with tape to hold position during cure. This ensures strong bonds lasting decades on Somerset dining tables.[5]
Preventing and Fixing Yellowing in Resin Table Tops
Yellowing dulls the crystal-clear resin I pair with spalted beech for Bournemouth commissions. UV light accelerates it in cheaper resins, while exotherm heat from thick pours (over 10mm) causes ambering.[1][7]
Causes of Yellowing
Low-grade hardeners or prolonged exposure to sunlight yellows epoxy over time. Overheating from poor mixing ratios exacerbates this, turning pours hazy.[4]
Solutions for Yellowed Resin
Sand the surface with progressive grits up to 2000, then recoat with UV-stable epoxy. For prevention, choose art resins rated for table tops. Polishing compounds restore shine without full removal.[1]
In Bristol’s variable light, I add UV blockers during mixing for longevity.[7]
Step-by-Step Repair Guide for Fixing Common Problems in Resin Table Tops
Here’s a universal process for fixing common problems in resin table tops: bubbles, delamination, and yellowing. Always work in a dust-free space at 20-25°C.
- Assess Damage: Inspect under bright light for bubbles, lifts, or discolouration.
- Sand Surface: Start with 120-grit, progress to 320-grit for tooth.[1][4]
- Clean: Wipe with 90% isopropyl alcohol; avoid water.
- Seal Wood: Thin epoxy coat, let cure 24 hours.
- Re-Pour: Mix precisely, pour slowly, torch bubbles.
- Cure and Finish: 48-72 hours, then sand/polish to 3000-grit.
This revived a yellowed kitchen island for a Cheltenham client, costing under £50 in materials.[1][2]
Prevention Tips to Avoid Fixing Common Problems in Resin Table Tops
Prevent fixing common problems in resin table tops: bubbles, delamination, and yellowing with preparation. Seal timber first—essential for live edge slabs from Devon suppliers.[2]
- Mix slowly, scrape sides thoroughly.
- Control temperature; use a heater if below 20°C.
- Level your mould perfectly with a digital spirit level.
- Use food-safe, UV-resistant epoxy for worktops.
- Work in thin layers (1-2mm) to minimise exotherm.[3][5]
Tools and Materials for Fixing Common Problems in Resin Table Tops
Essential kit for fixing common problems in resin table tops: bubbles, delamination, and yellowing:
| Item | Purpose | Cost (£) |
|---|---|---|
| Propane Torch | Bubble removal | £15.99 |
| Assorted Grits (120-3000) | Sanding | £20.00 |
| UV-Stable Epoxy Kit | Repairs | £45.00 |
| Isopropyl Alcohol | Cleaning | £8.50 |
| Digital Level | Levelling | £12.99 |
| Polishing Pads | Finishing | £25.00 |
Total under £130 for pro results. Source locally in Swindon tool shops.[1][4]
Expert Tips from a Bristol Carpenter
From my Simmonds Carpentry workshop: For delamination on period timbers, test moisture content below 10% with a metre. Bubble-proof pours by pre-vacuuming moulds. Yellowing? Opt for brands like TotalBoat—proven in South West humidity.[2]
Always wear gloves; resin sensitises skin over time. For river tables, embed items in seal coats first.[3][6]
Conclusion: Mastering Fixing Common Problems in Resin Table Tops
Fixing common problems in resin table tops: bubbles, delamination, and yellowing transforms flawed pours into heirlooms. With proper prep and these techniques, your Gloucestershire dining table or Cornish worktop gleams flawlessly.
Apply these steps, and you’ll avoid costly redo’s. Contact me for Bristol-area commissions—let’s craft perfection together. References: TotalBoat[2], Resin Society[5], Lumber Grand[1]. Understanding Fixing Common Problems In Resin Table Tops: Bubbles, Delamination, And Yellowing is key to success in this area.